
Improvisation is an important skill in wilderness/remote medical care. In this installment, we show you how to splint an arm with a spoon, a rag, a shirt, and some tape. This splint can meet all field requirements for an effective splint. They are as follows;
CSM: Check the patient’s CSM- circulation, sensation, movement, before and after applying a splint. Check for a pulse below the site of the break. For this splint, the pulse it is on the wrist, just below the thumb. Ask if the patient can wiggle their fingers (movement). Without the patient looking, gently pinch the tip of one of the patient’s fingers and ask if they can feel which finger you are touching.
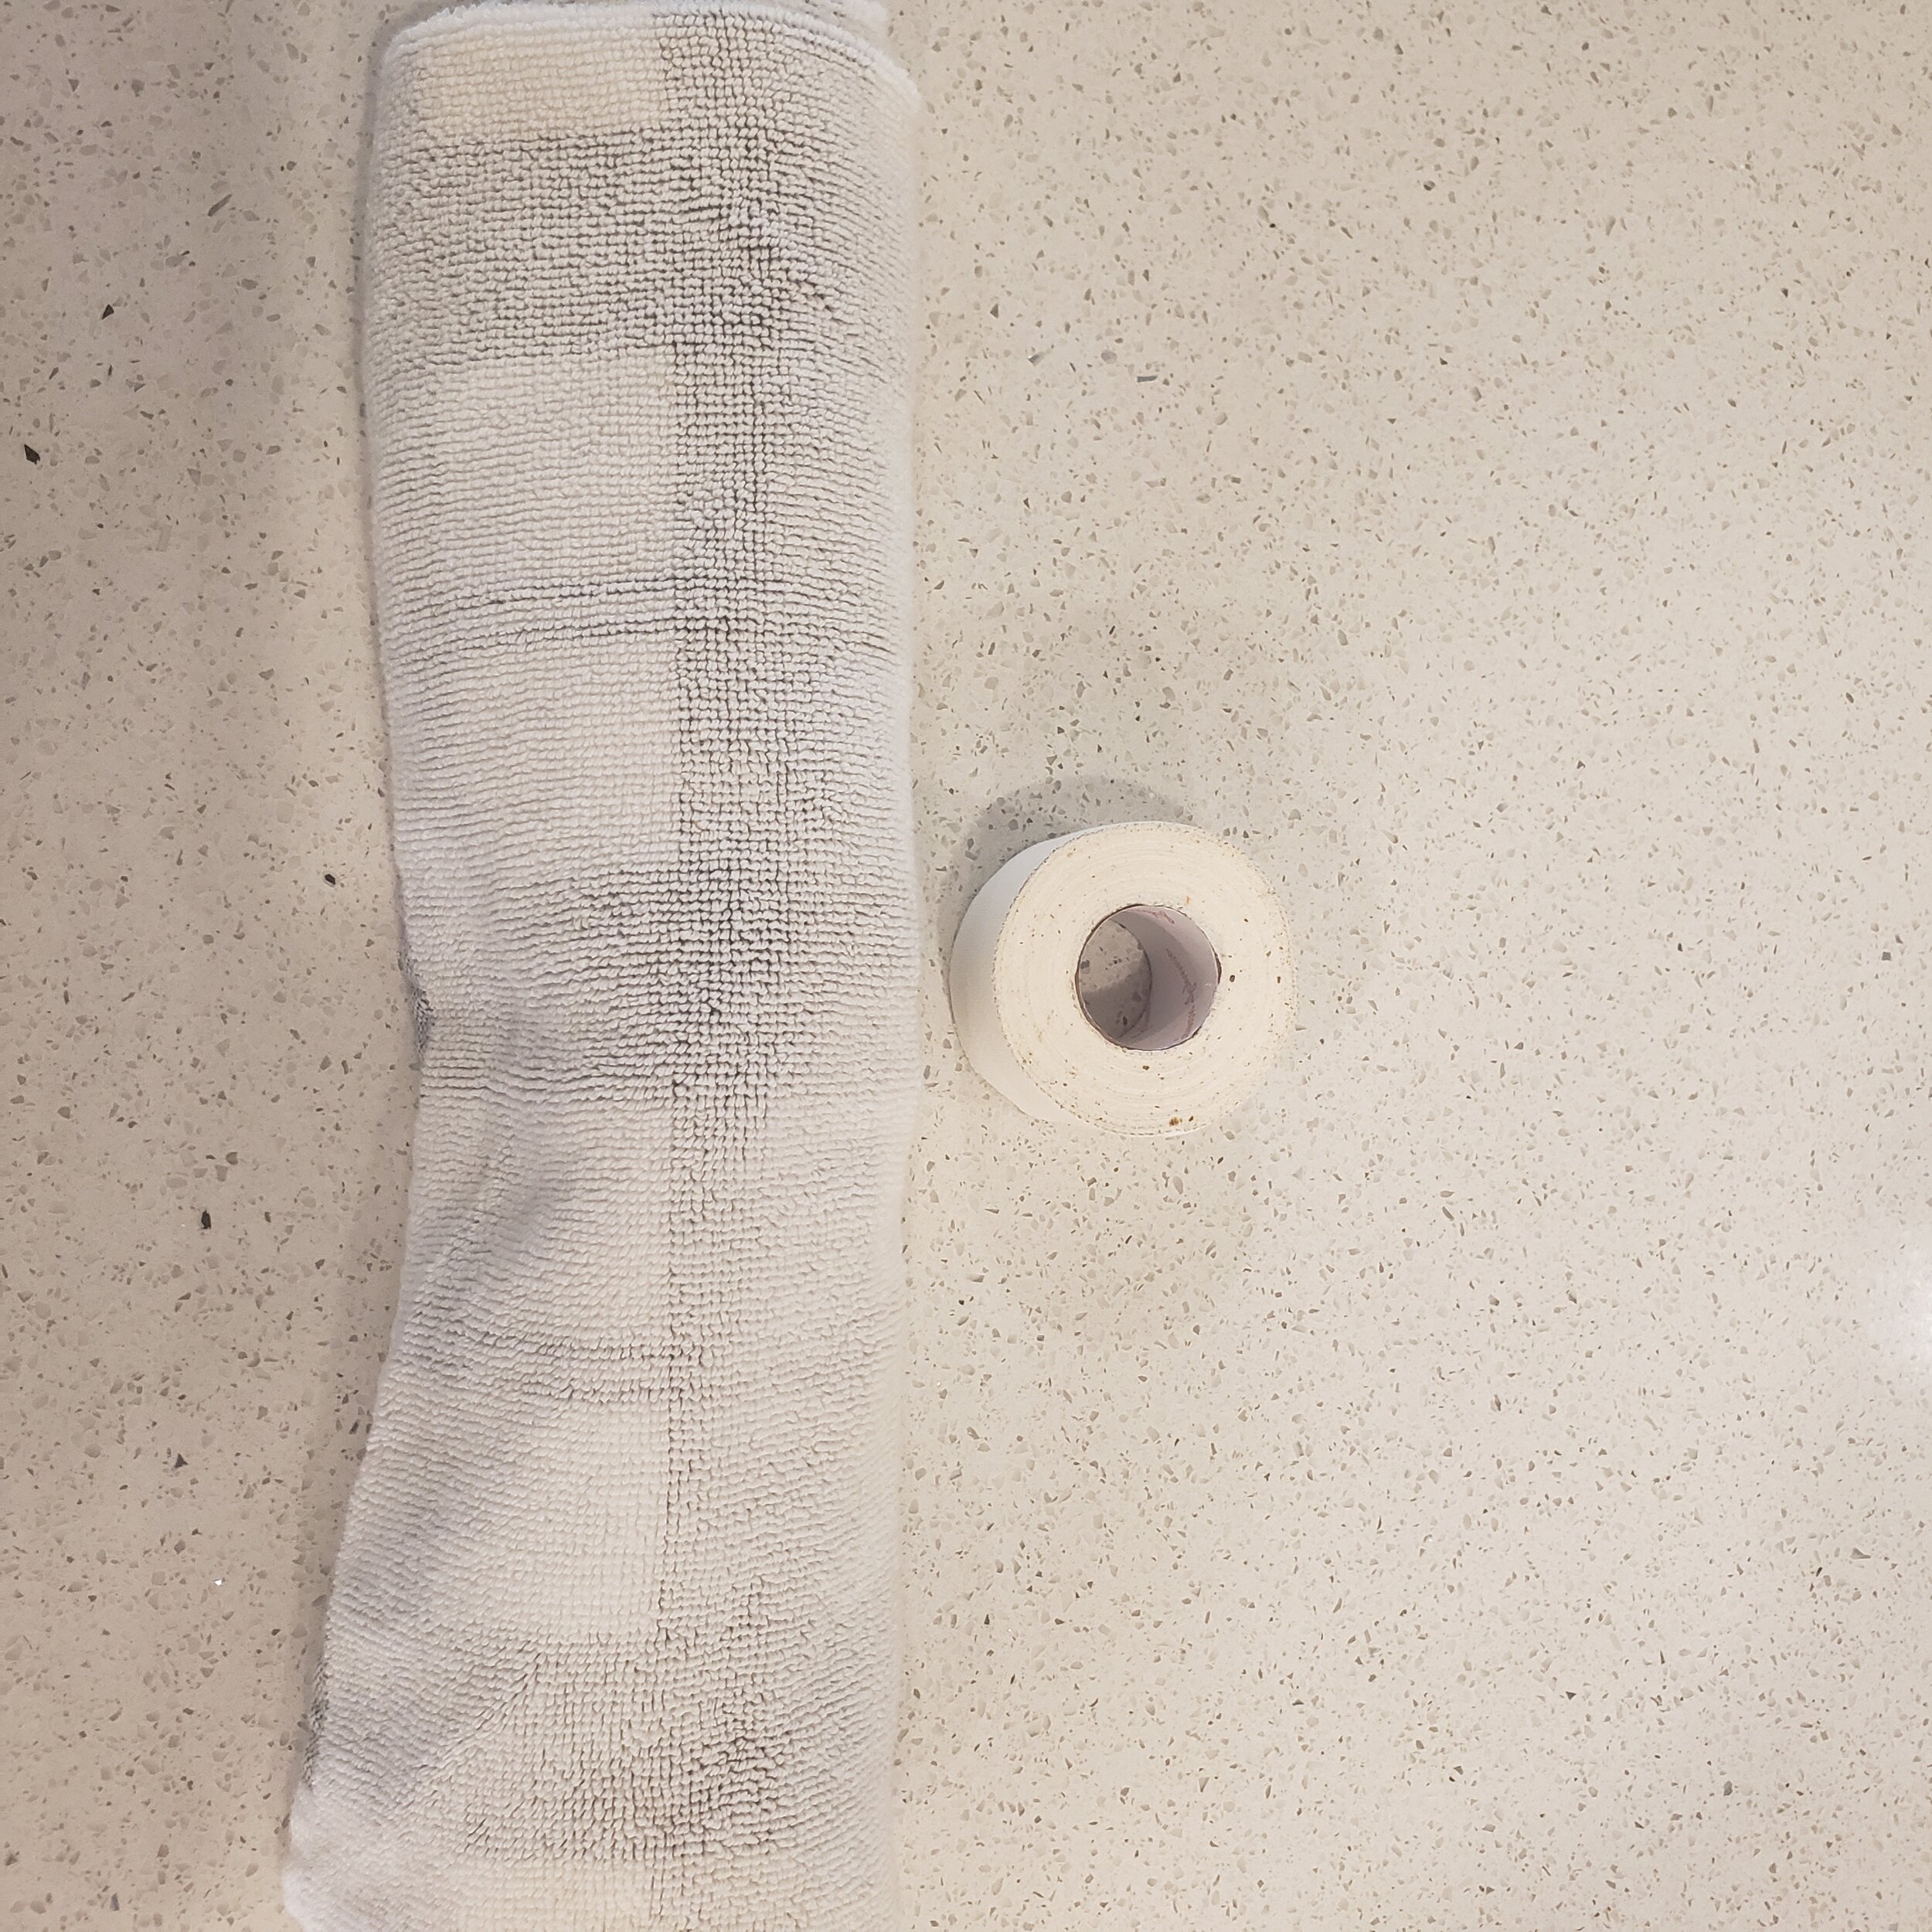
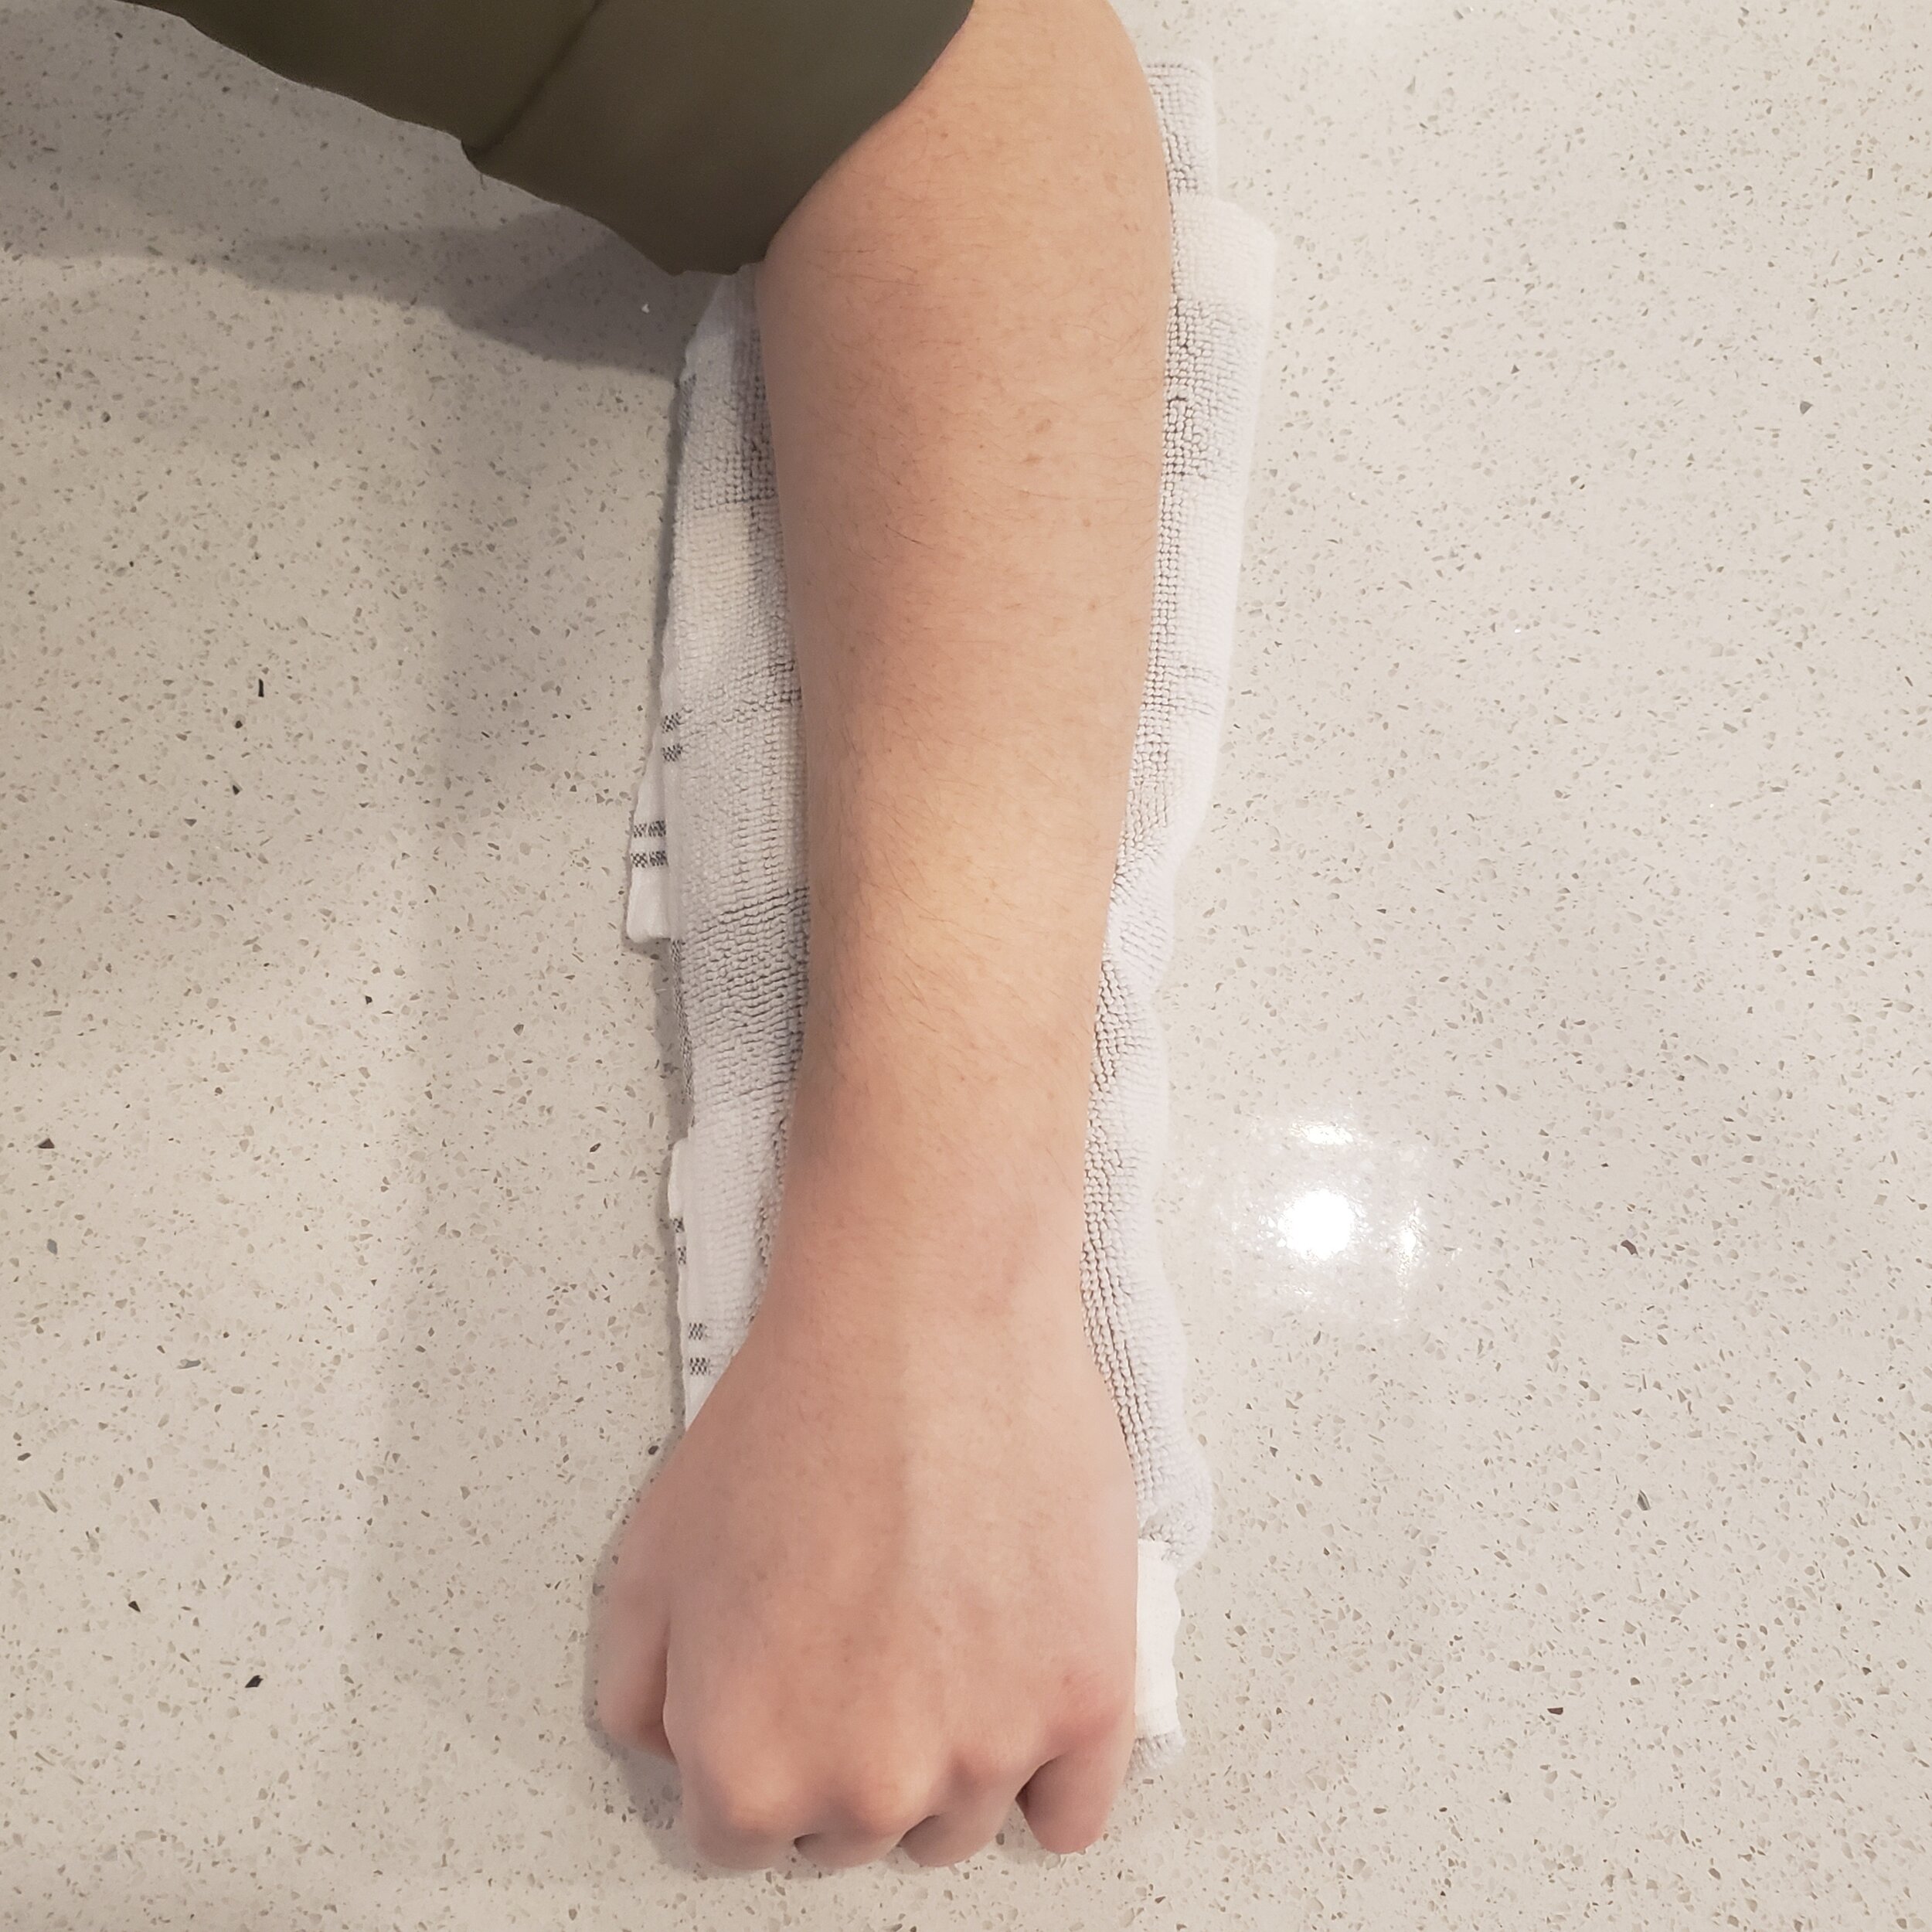
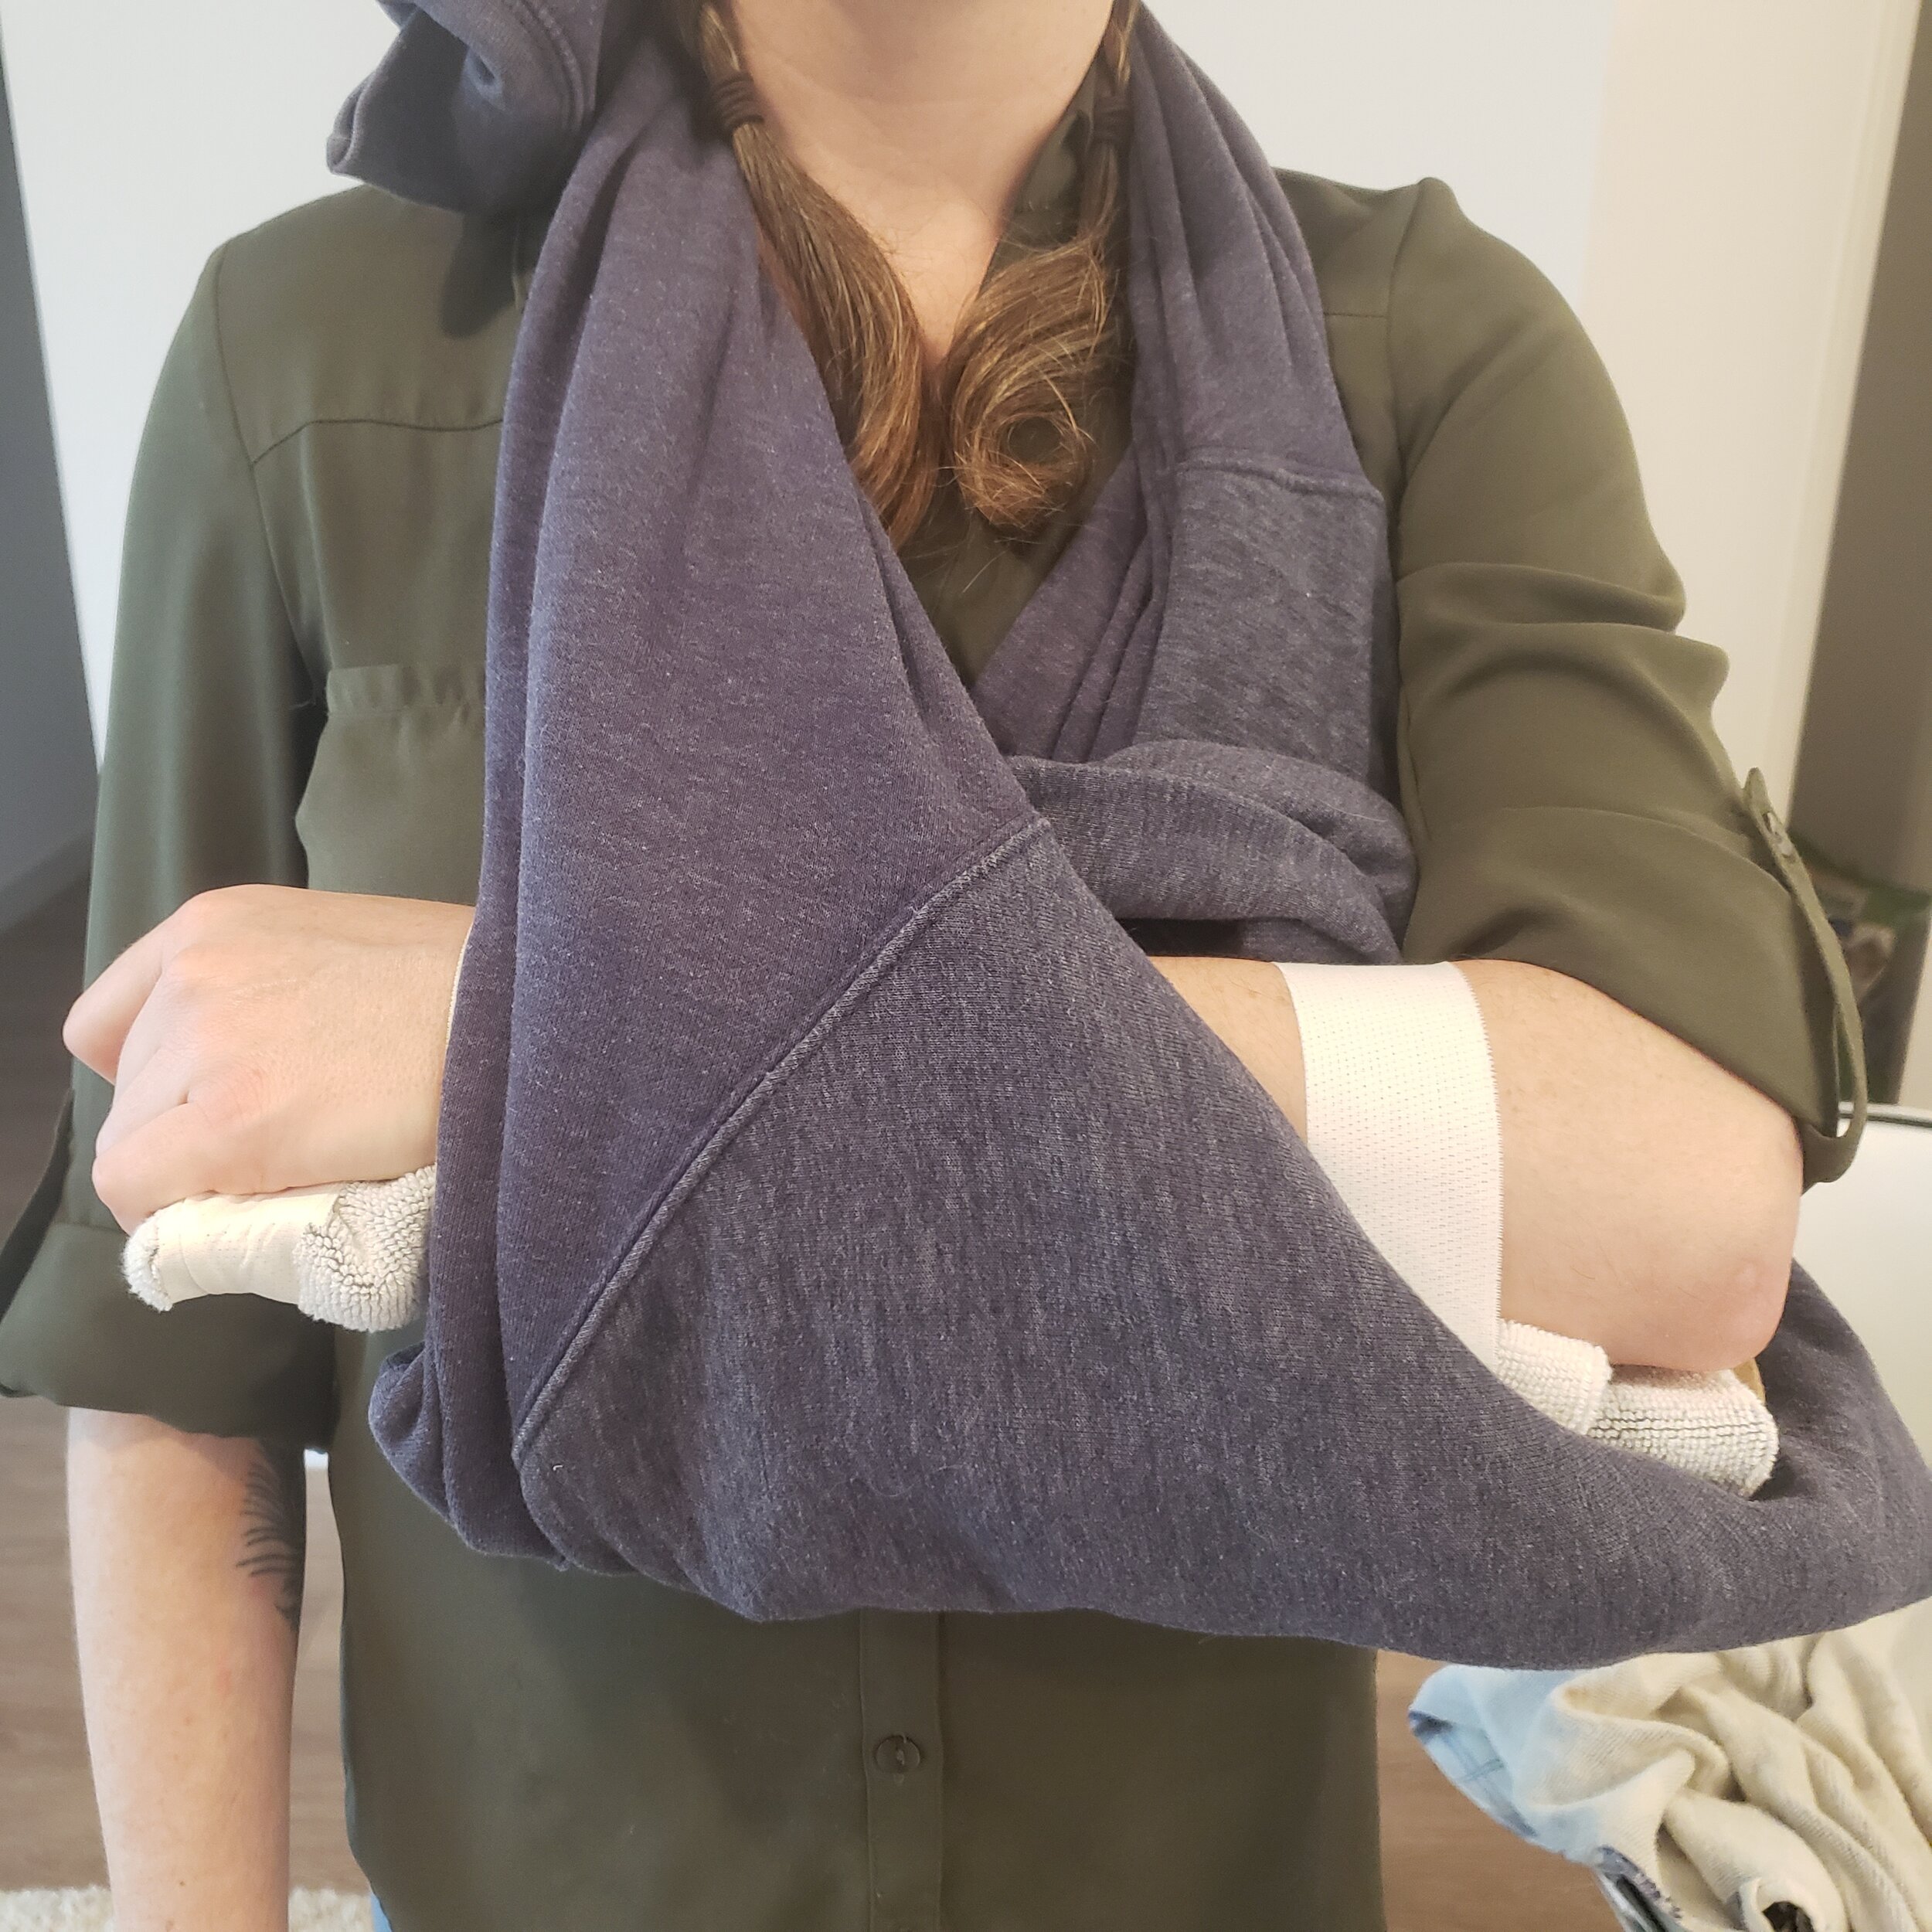
The Position of Function (POF): You must secure the limb in a position that allows for optimum oxygen rich blood flow to the limb. This is referred to as the position of function. For the forearm, simply place a round object approx the size of a roll quarters. You can wrap over the fingers but leave the thumb free. Securing a limb in the POF is also known to provide pain relief to the patient.
Isolate the joint above and below the site of the break. With the forearm, we will place the affected arm in a sling. Sling the arm at aprox 90 degrees across the body. This will restrict joint usage, and support the injured limb. It may also provide pain relief.
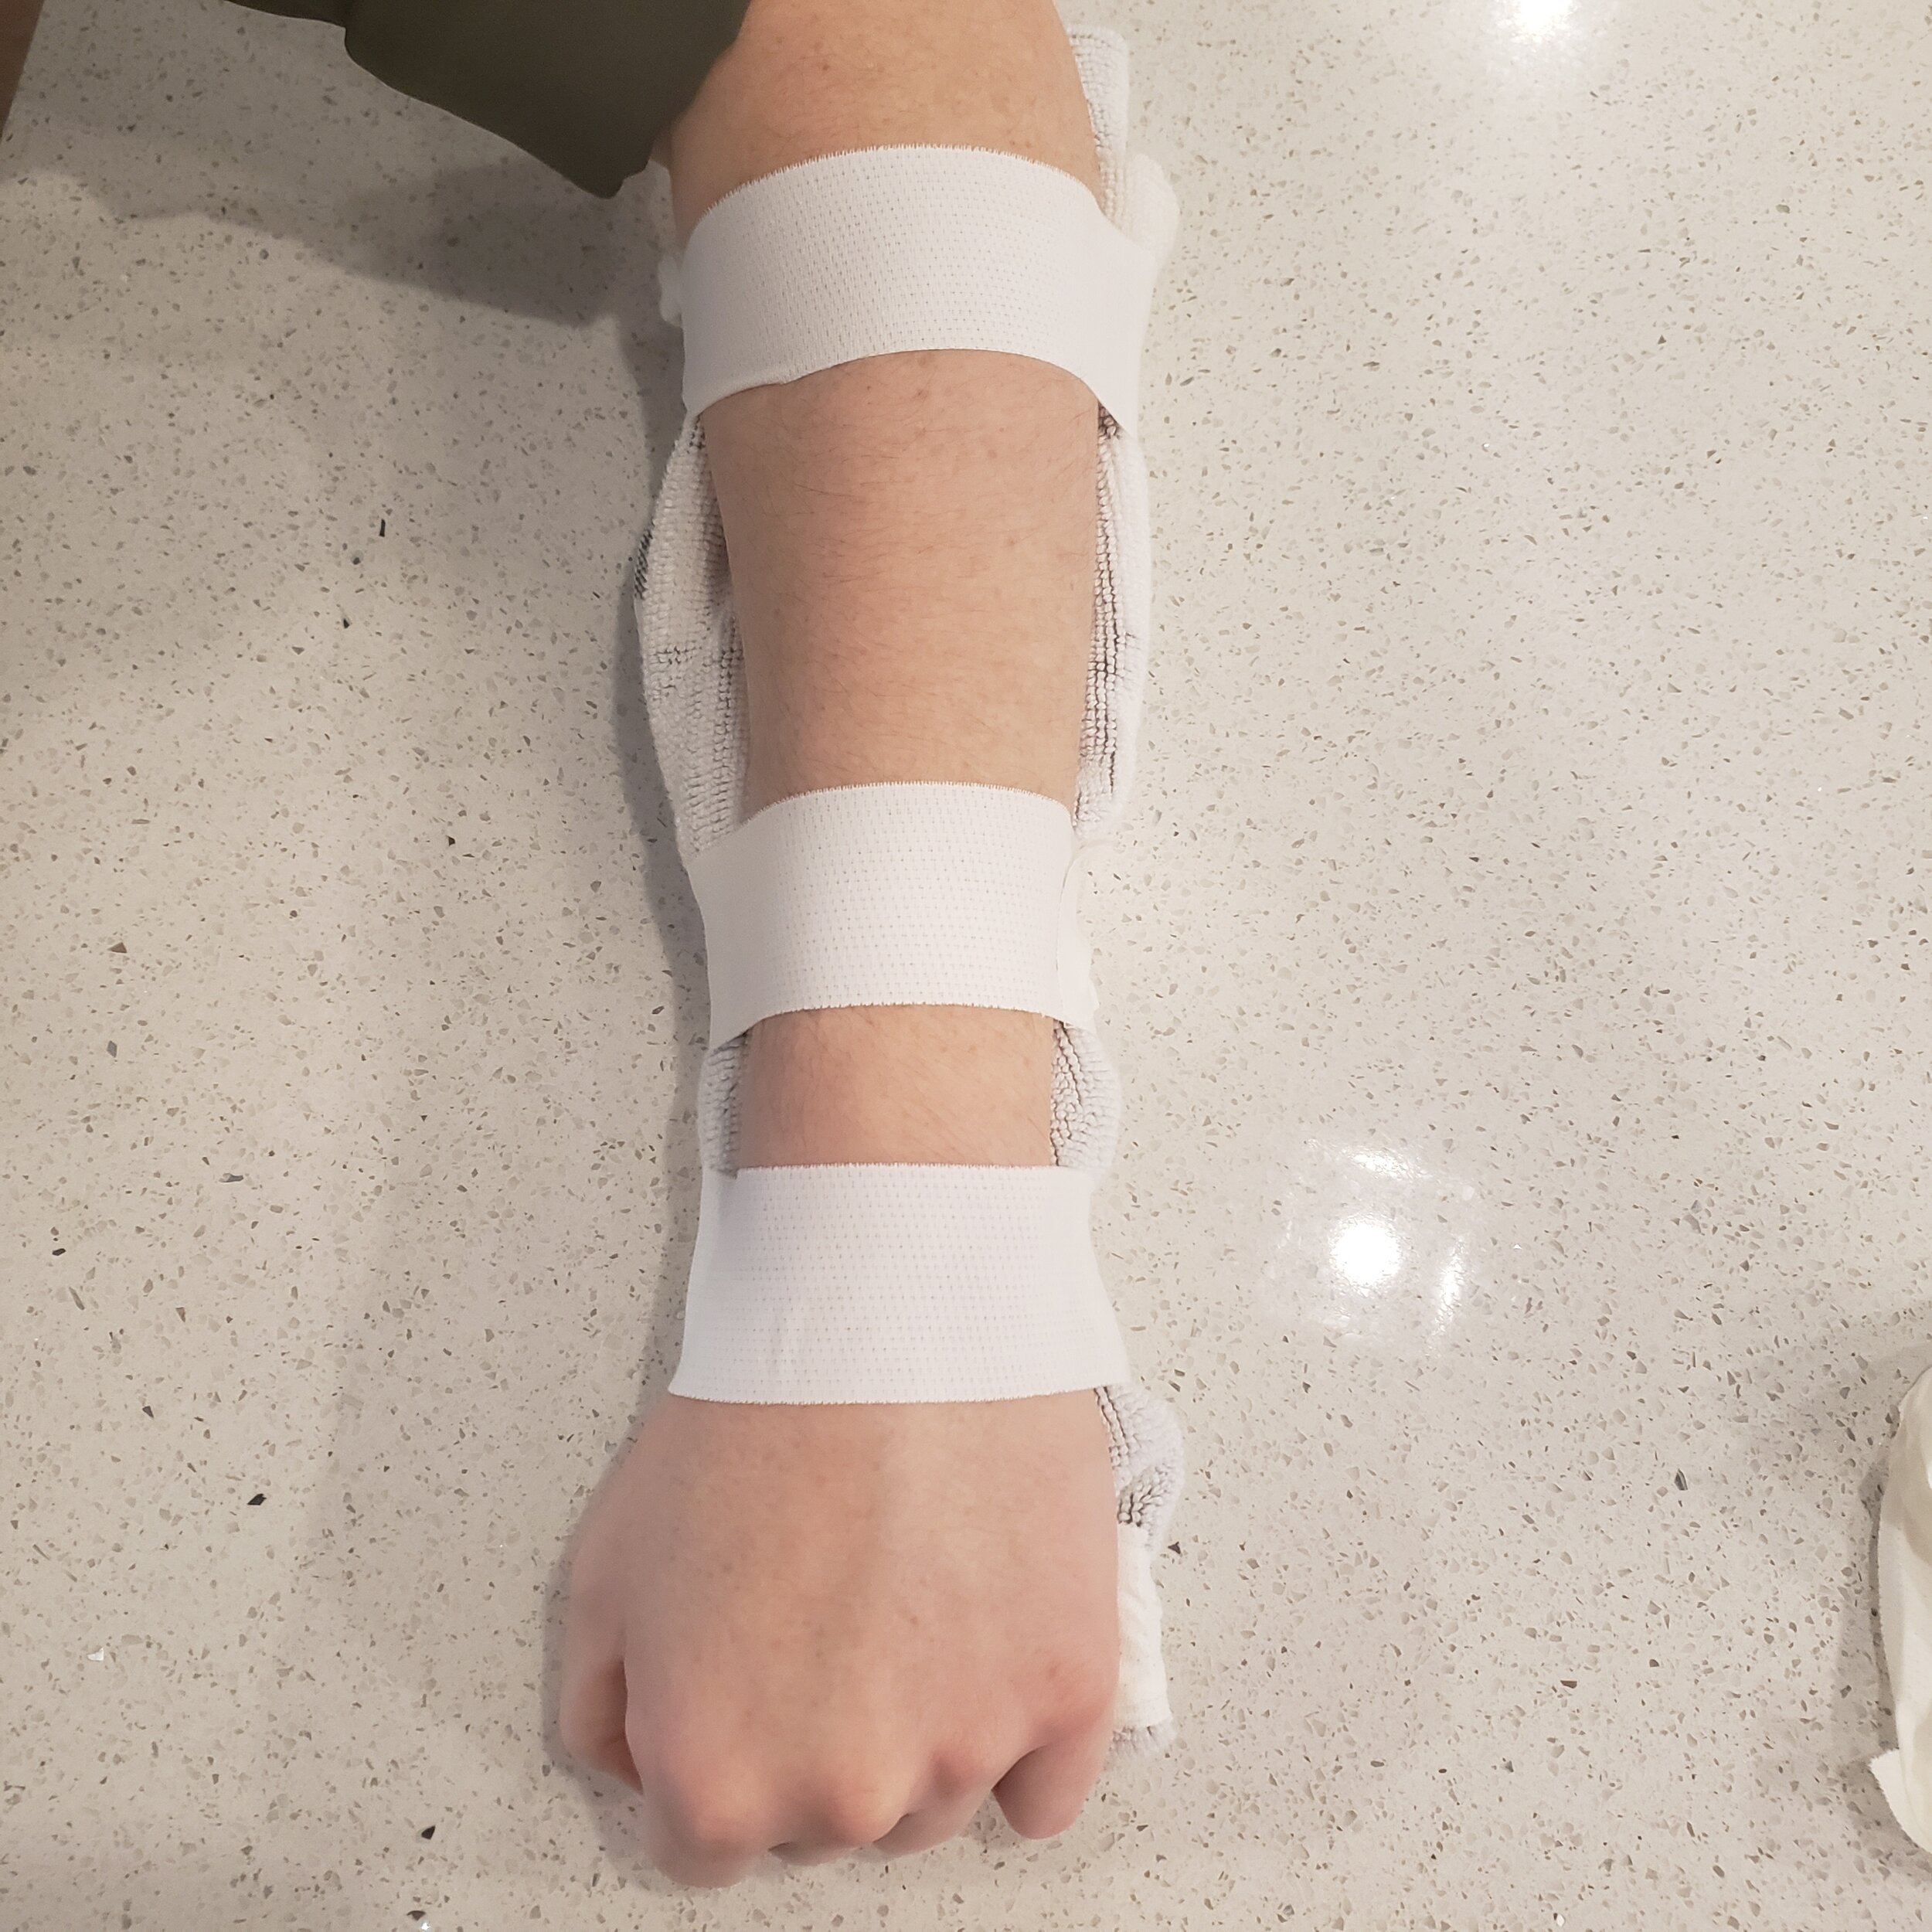
Immobilize the broken bone ends. Try to identify the site of the break and secure the limb on both sides.
Pad your splint. Cover the object in a soft conforming material, to ensure uniform support and prevent causing pain.
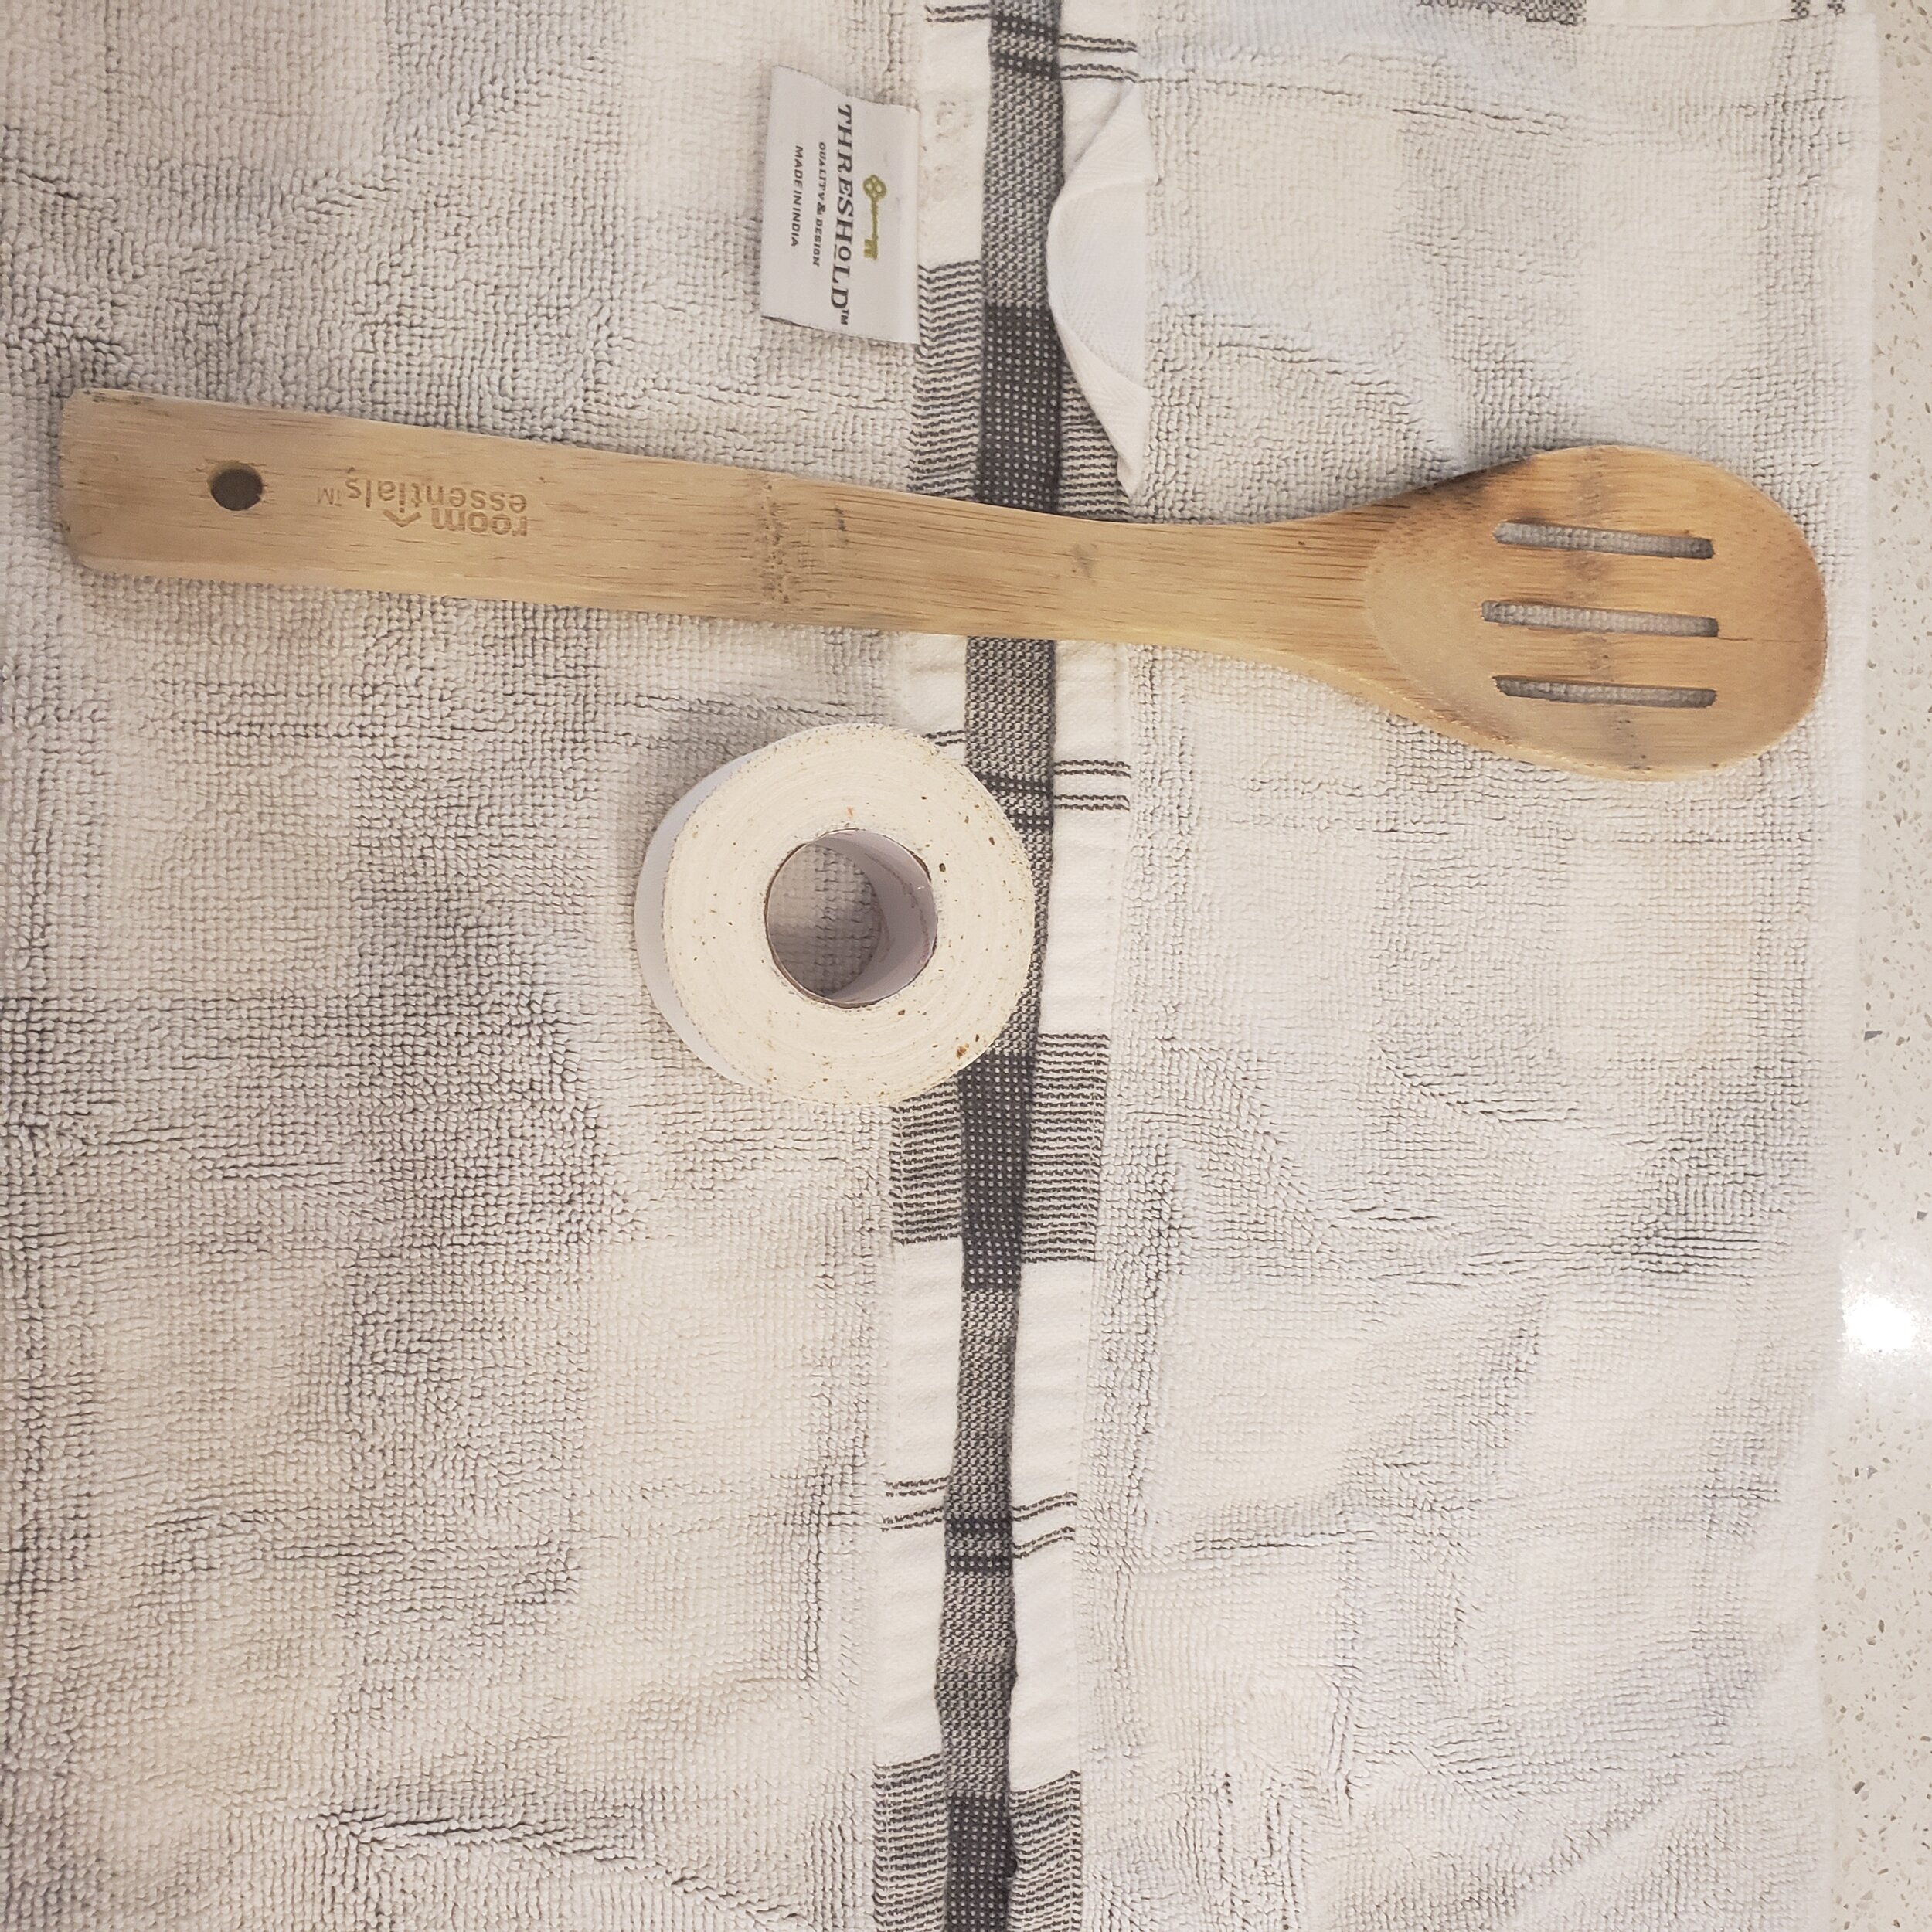
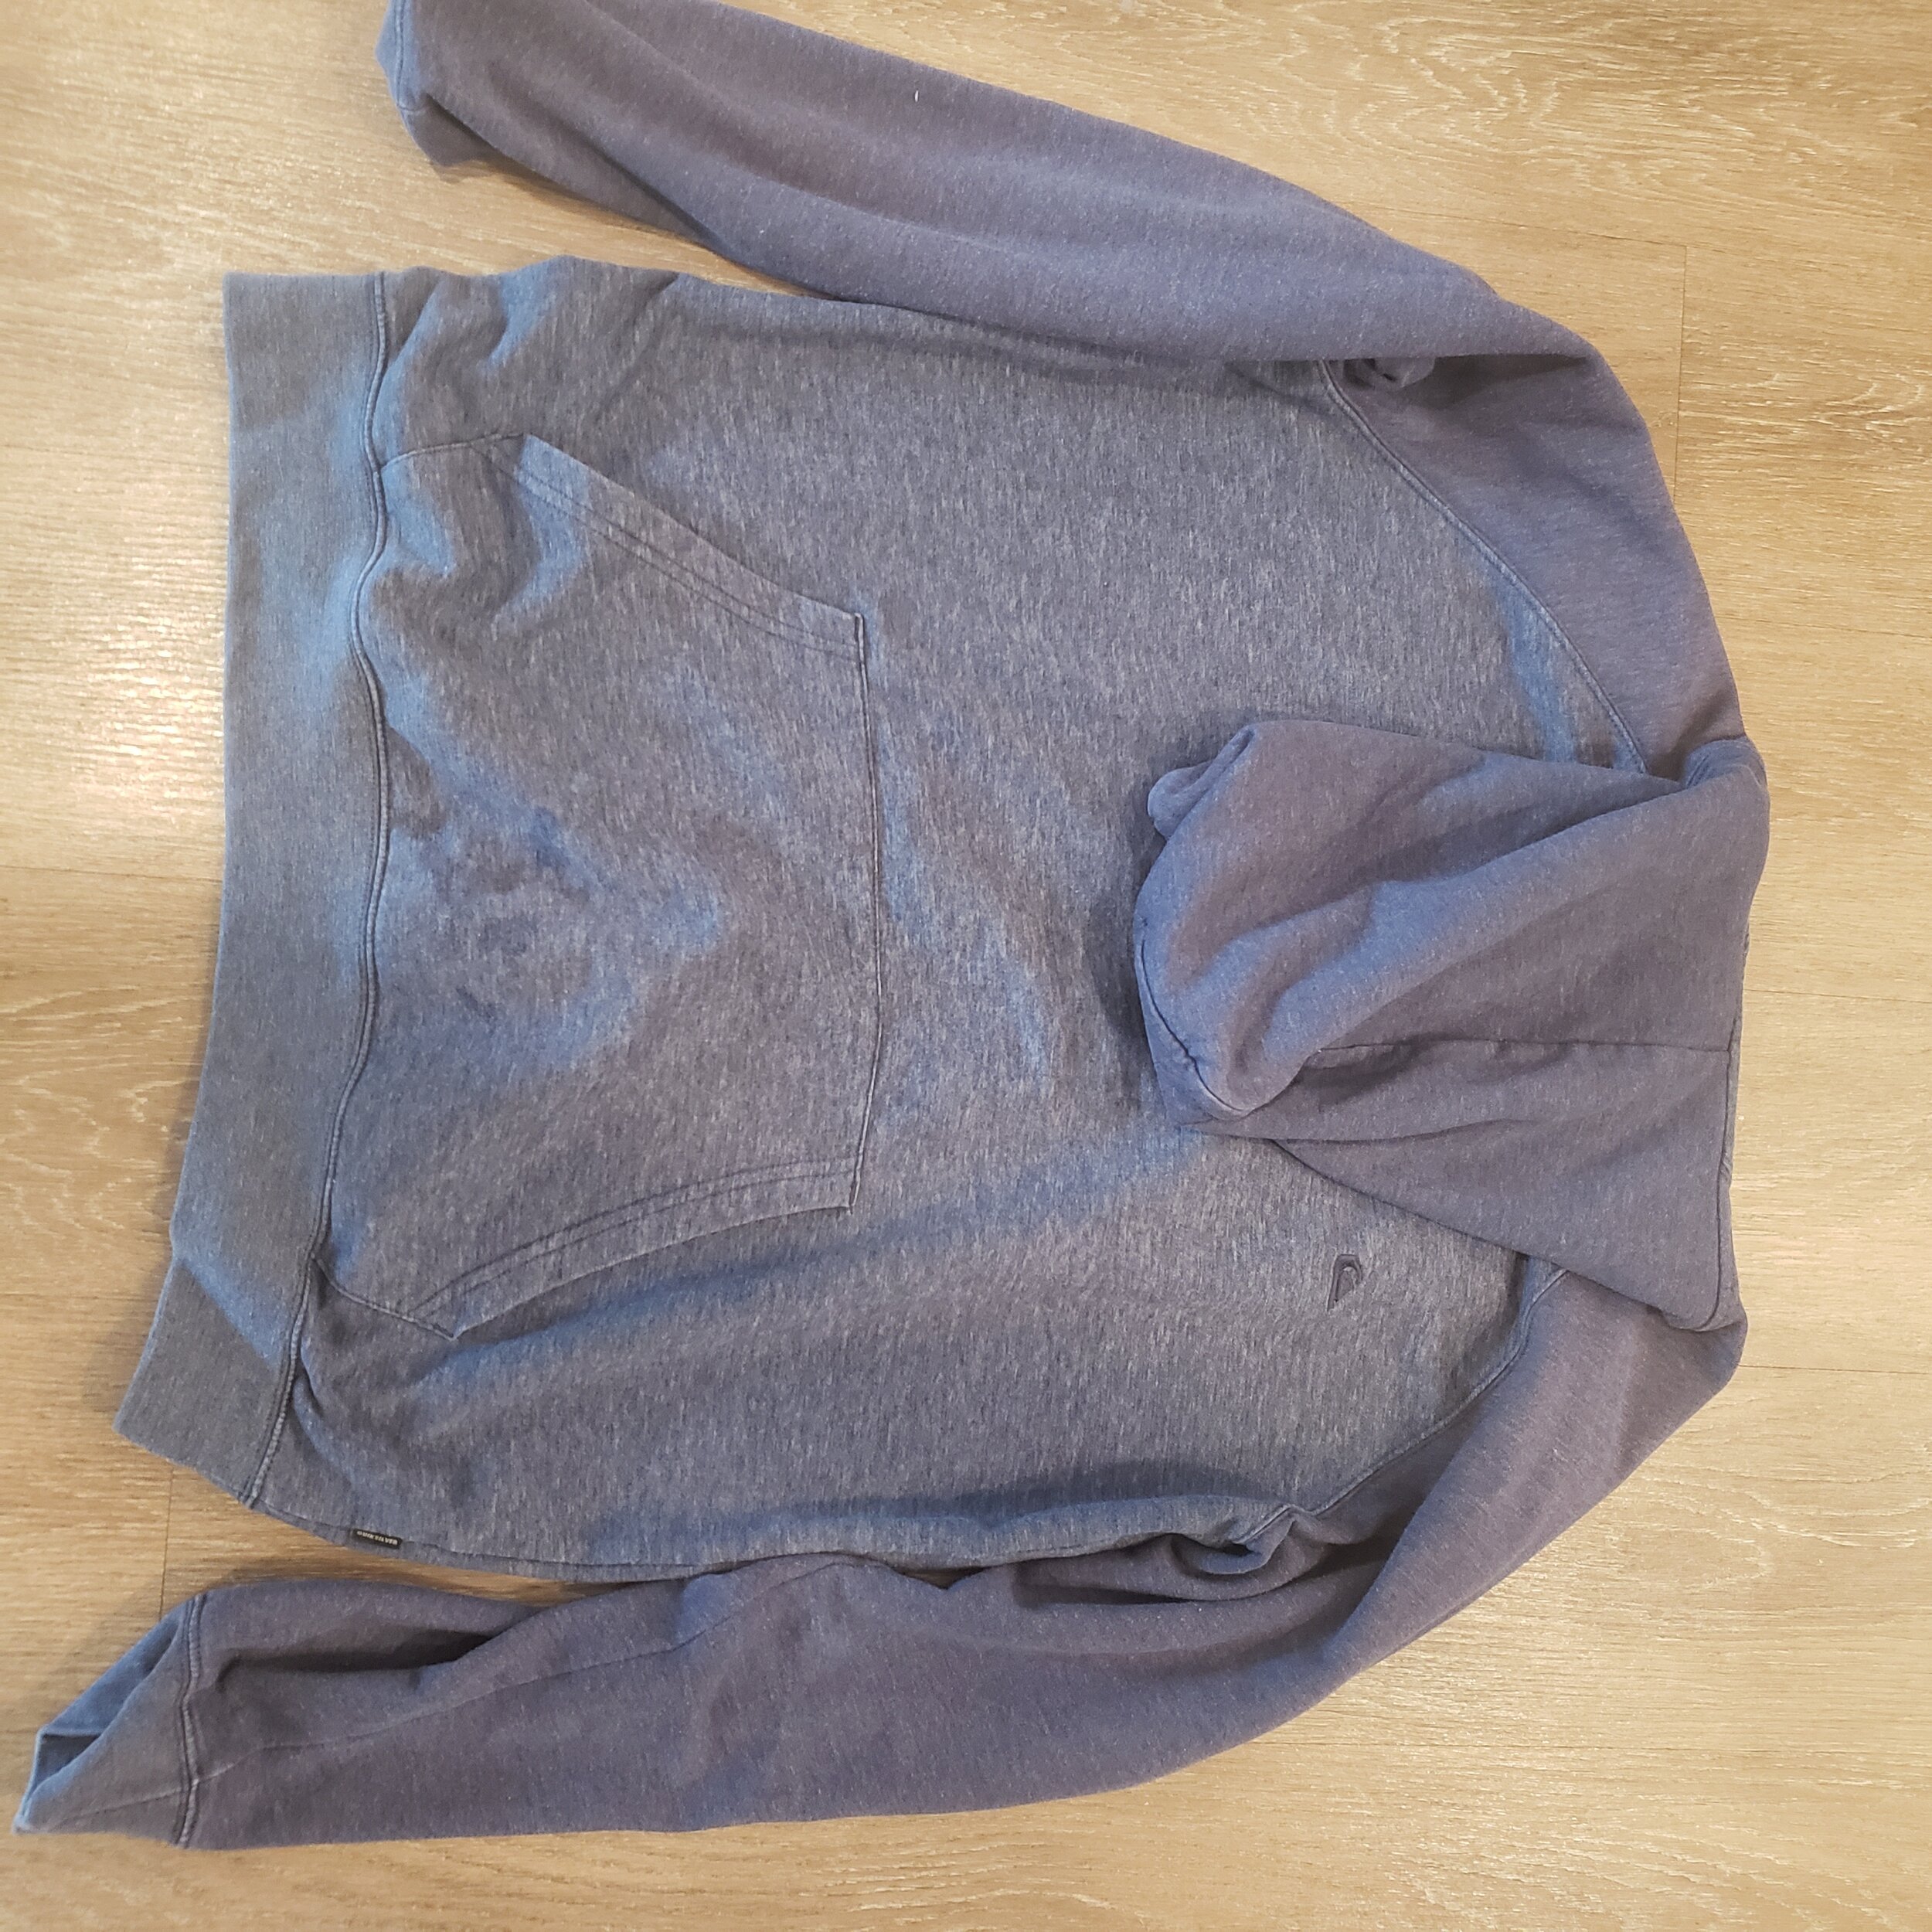
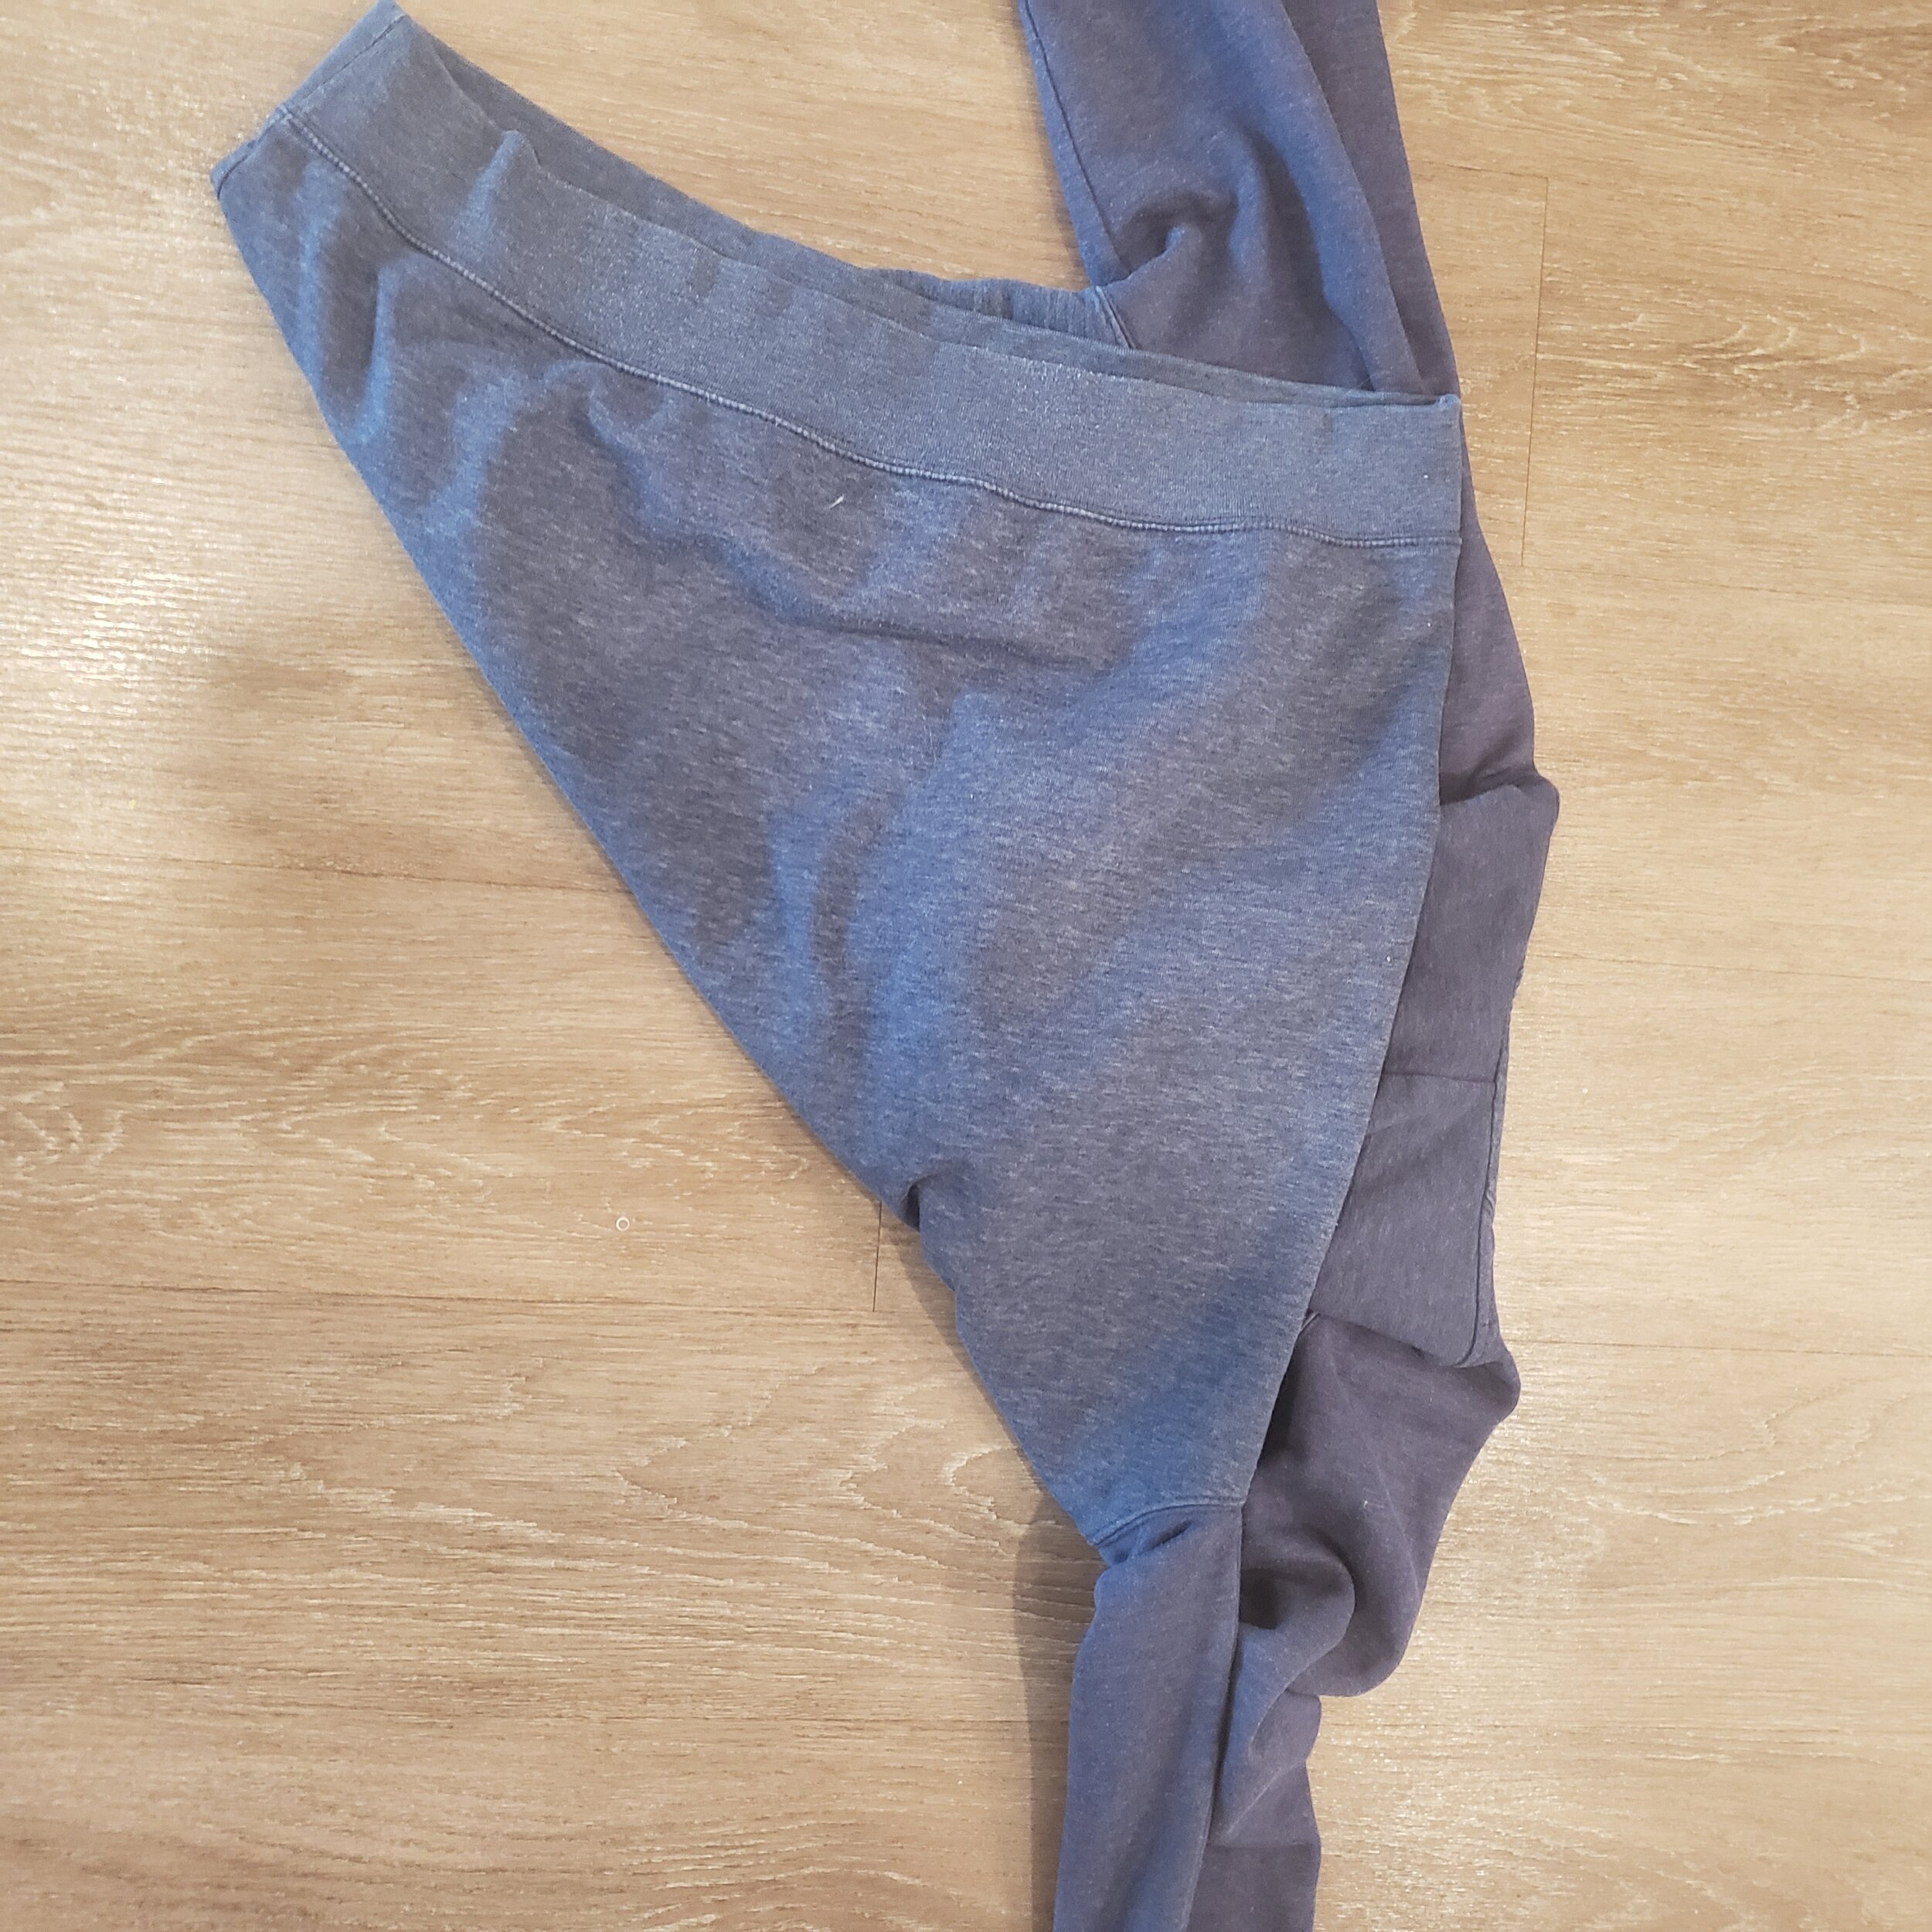
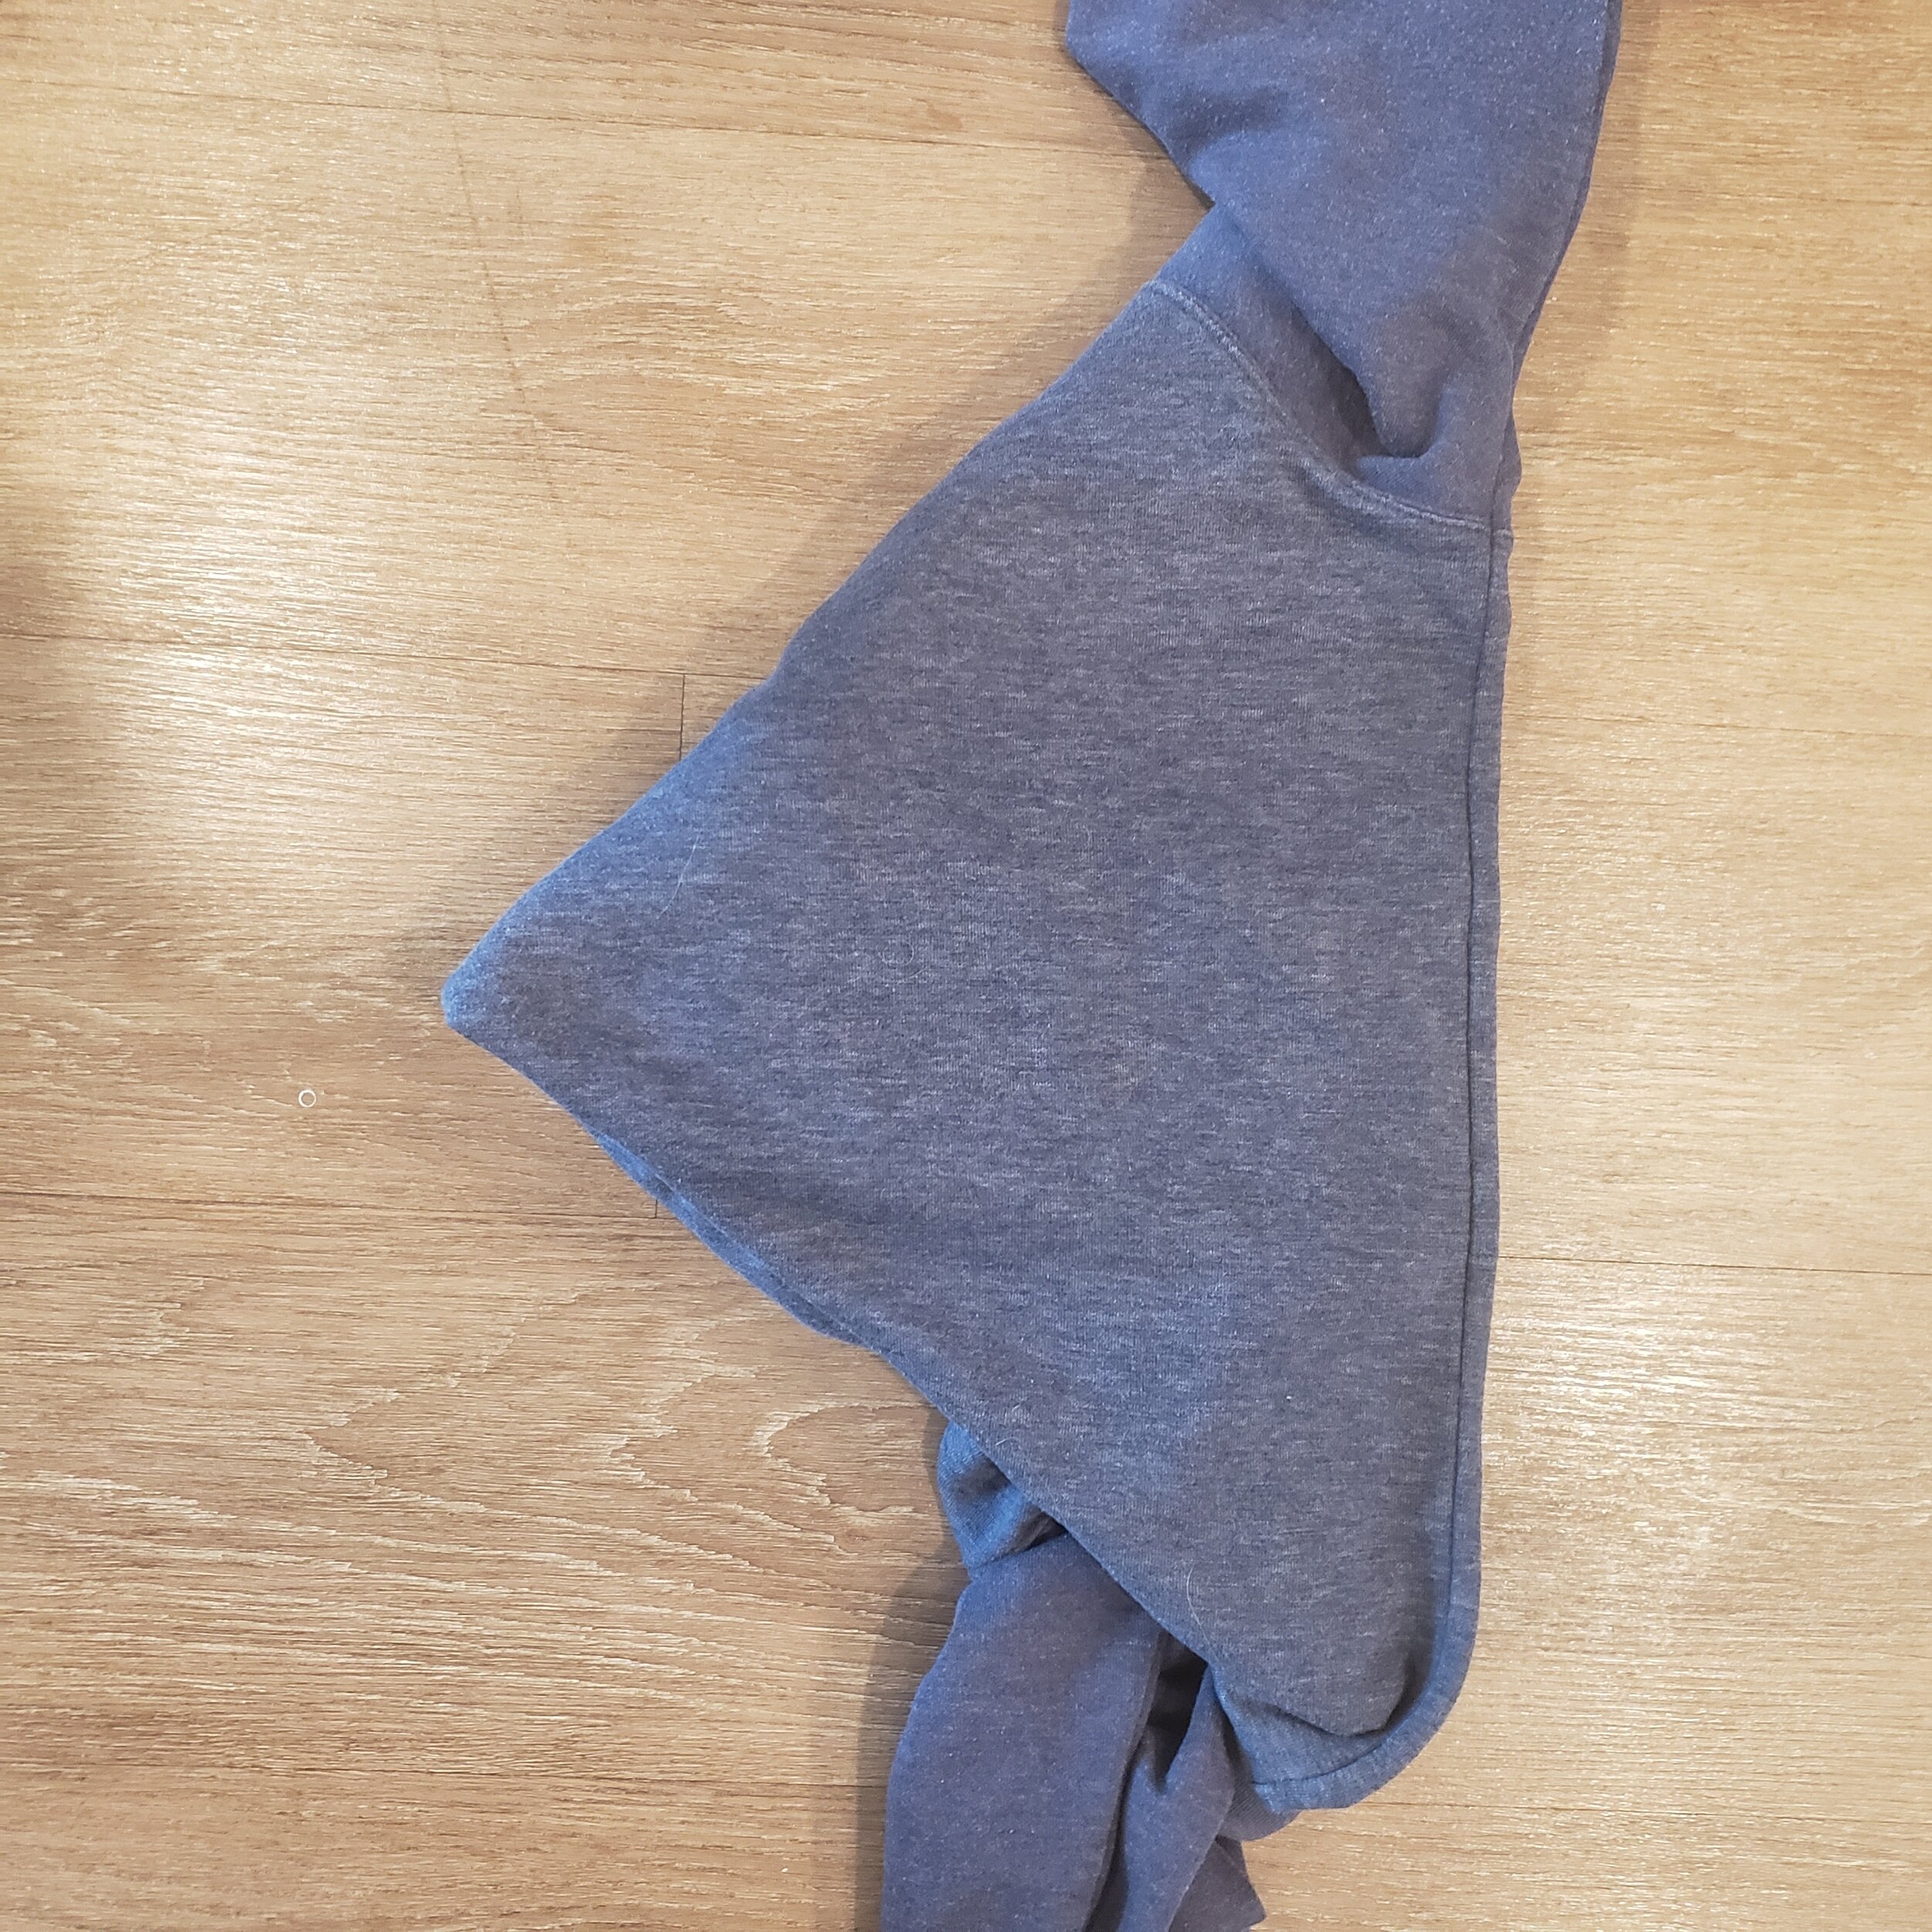
View the slides below to learn this splint step by step: